Your Cart is Empty


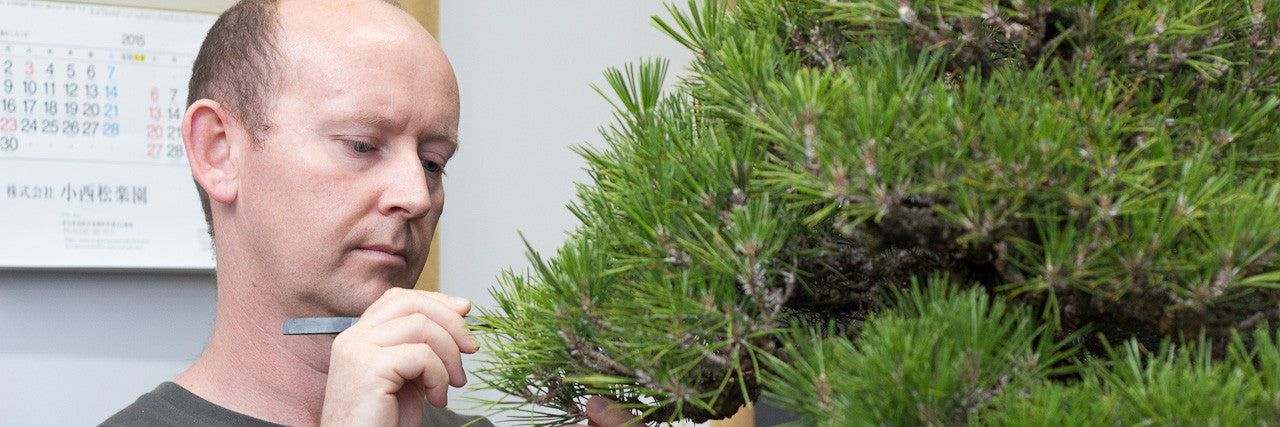
Summer work on a Japanese Black Pine
I love black pines. There is so much to like about them and a big plus is that they naturally grow along the coastline of Japan, and as I am at the coast also they grow really strongly.
The tree I will work on in this blog was imported in May 2014. It comes from the Saitama prefecture and the very strong masculine trunk and fairly formal, upright style is very synonymous of Japanese Black Pine styling. The pot is also very special and comes from Tokoname in Japan and was made in the Yamaaki kiln by an early generation ceramicist.
As I do not wish to go into too much detail on the cultivation of black pines as bonsai (as it will become a really long post and because this is simply a blog post not a definitive guide), so I will try to keep my comments brief and on topic. In summer, pines need to be decandled.
Why?
- Because just like a trident maple shoot in spring is full of vitality and rapidly shoots out towards the sun, so to are the spring candles of pines. The problem with this is that the neck of the candle, the area devoid of needles, is a section where no back budding could ever occur. This is a problem so you want to keep these necks as short as possible. By removing the candles and forcing the tree to push out new ones, these summer candles will be weaker and with shorter necks than the spring ones.
- The other reason is balancing of energy. Although energy balance is not only associated with candle pruning but also needle plucking, removing candles from the entire tree does assist in balancing energy. Balancing energy simply means that the growth in all areas of a tree is the same.
- Ramification is also achieved when you decandle because at every point where a candle was removed 2 - 4 new ones will emerge.
- Decandling often stimulates back budding along the branch.

Image caption. The subject of this blog, an imported Japanese Black Pine
So in summer when the spring candles have pretty much hardened off, you can start considering decandling your pines. As the time when you decandle will influence the size of the summer candles and needles it makes sense then that larger trees should be done first and smaller trees later. Larger trees look more in proportion with larger needles and smaller pines benefit from smaller needles.
Although it is best determine the cycles and timing based on trial and error a good rough guide, at least where I am, is that in late november and december the pines can be decandled.
Not all pines should be decandled however. Any tree on which you perform this procedure must be healthy and extremely well fed beforehand. My process is to feed generously with loads of BonsaiBoost from early spring. When I decandle I remove the fertilizer for a few weeks. Why you might ask? Well if you provide plenty of fertilizer to the tree when the summer candles are extending you might find these are as large as the spring ones. So two needle pines should be fed in spring and again in autumn.
I would also not suggest that you decandle a pine which was repotted that season. The tree would have expended most of its reserves into the foliage and removing it and expecting the tree to push out more might push it over the edge instead!

Image caption. Tools you are going to need.
You don't need many tools for these tasks but I would strongly suggest a pair of trimming scissors and not a general purpose bonsai scissors. The latter is simply too bulky to get into the foliage in order to cut the neck of the candle. I would strongly suggest the Kaneshin trimming scissors, or the Kikuwa version, if you want a good quality tool but are on a budget. Always ensure your scissors are SHARP!
The next must have is a pair of pine tweezers. Yes, there is a difference between these and the normal tweezers you can buy at a pharmacy. The teeth on pine tweezers are much coarser. This is to allow a reasonable build up of sap which will be deposited on the tweezers as you pluck needles. They are also much longer than standard tweezers and this is to allow you to get to where you need to be, without pricking yourself on the tips of the needles all the time.
I would also suggest a brass wire brush. This together with a lighter or matches is used to remove resin from the teeth on the tweezers. Burn the tips of the tweezers for a few seconds. Then use the wire brush to remove the carbonized deposit. This procedure needs to be repeated several times when working on larger trees.
I forgot to include Kaneshin's crean mate in the photo but it is a must have for removing the sap buildup on your trimming scissors. Simply dip the stone in a little vegetable oil and rub on the blades like an eraser to remove the sap. Take a look at the video I made showing how simple but amazingly effective it is.

Image caption. A strong candle which will need to be removed.
In the preceding image we see a candle which has a very long neck and will need to be removed. I do not mean to say by the phrasing of this sentence that only some of the candles need to be removed, they all must be removed.
The only exception are weak candles on an altogether weak branch.
Selective removal of candles will not achieve the purpose for decandling in the first place and you will just further imbalance the tree's energy.

Image caption. The candle removed.
Using your sharp trimming scissors cut the candle off as close to the first needles as possible. The cut must be perpendicular to the neck. The reason for this is so that when the tree begins to push new buds/candles there a perpendicular cut will help to ensure that buds will develop evenly. A slanted cut will result in only one bud forming, at the tip of the cut.

Image caption. Candle which has been removed.
Here you can see the candle removed. I use my tweezers to hold the candle I am cutting. I then insert my trimming scissors and make the necessary cut. You then simply flick the cut candle onto the floor.
This is not a very strong candle, and your pines might have much stronger ones. That's great if so! A healthy tree always responds to bonsai techniques better than weak ones.

Image caption. Different candle strengths
Here's an interesting photo showing the different strengths of candles removed. In fact there were weaker ones, but they would have been difficult to photograph as they were only the tips nipped off of candles which did not extend.
In the ideal scenario, where a tree is in balance, all three of these candles would have been the same length.

Image caption. Plucking needles with tweezers
Once you have completed decandling, working from the apex of the tree to the bottom, you will go back and needle pluck.
Needle plucking determines the amount of energy the tree will send to each branch or branchlet.
I normally remove more needles in the apex and fewer needles at the base. This is as the apex of a pine is stronger than the base and so I want more energy to go to the bottom of the tree.
How many needles to leave will also need to be determined by experience. However if you are unsure then rather leave too many and in the following year remove more. The worst that can happen if you remove too few needles is that the resulting regrowth will be too strong. Removing too many needles will weaken the tree, you might lose branches or at the very least the resulting growth will be very weak and will not develop properly.
I would say between 6 - 12 pairs of needles should be about right. The lower end of this scale for the apex and the higher end for the bottom of the tree.
The action of needle plucking is like a chicken pecking at seeds ie. a straight in and out action. Pull the needle with confidence directly up so that the needle sheath remains. Pulling down or towards the trunk will eliminate any chance of a bud developing there in the future.
I will do another post on needle plucking in a couple weeks.

Image caption. Weak inner growth
One of the additional benefits to needle plucking and decandling is that it permits sunlight to enter the interior of the tree. This is important to keep the weak inner shoots alive. These are very important for the future of the tree, unless you are planning on grafting new branches on when the current ones become too thick and coarse and need to be replaced.
Yes, even these inner candles should be cut. Usually they will not have developed much if at all and might only be a nib. Just take off the tip of this nip to stimulate growth. Once again a reason to use trimming scissors as it will be impossible to perform this using chunky general scissors.

Image caption. Back buds
This is a great example of some back buds which have developed from previous rounds of decandling. These shoots will become very important in the future for the design of the tree. The existing branch will thicken with time and will eventually have to be removed. As conifers do not back bud where there are no needles you will not simply be able to remove a branch and expect buds to pop out there. By developing buds on the branches to use in the future you will be able to cut out this central branch and use these two buds to form part of the trees profile.

Image caption. Decandling complete
The best time to needle pluck is in spring, roughly after you have repotted your deciduous trees. This is when the tree is distributing energy to the branches and plucking needles down to a number of needles which is the same all over the tree will assist in balancing energy. If you don't manage to get around to it then you can needle pluck now, when you decandle. As I did the needle plucking earlier I did not need to do it at this time. In autumn you can once again needle pluck, removing all old needles and some of the new needles. As a rough guide to how many needles to remove; remove needles till those which remain are equal in number to the weakest shoot on the tree. Bear in mind though that the fewer needles which remain the weaker the spring growth will be.
I hope I have not confused you in any way, and that you are a little more certain about the decandling and needle plucking process. If however you have a question leave it for me in the comments below and I will try to answer quickly.
Disclaimer. Much of the advice above is appropriate for this tree and at this stage of refinement. If you have a developing pine where you are thickening the trunk or branches then most of the above will not be applicable to you.
3 Responses


Leave a comment
Comments will be approved before showing up.

Betty
April 15, 2018
This was a great article. My black pine was in need of repotting which I did today. Then I decided to decandle the tree & now I am wondering if I should have waited until the tree was used to the having been repotted prior to decandling. I just noticed now, in re-reading your article, that you mentioned the tree must be healthy & well fed prior to decandling. Here in BC it is the time to repot, if the tree is in need (which mine was). It had grown quite a bit above the soil & it was not getting proper drainage. The candles were all quite long as in your first photo showing the candle that had been removed. I do hope I have not caused the tree any shock or harm. I look forward to hearing from you.